


Craig Linford
-
Posts
4 -
Joined
-
Last visited
-
Days Won
1
-
 Ryan Pennington reacted to a post in a topic:
How to Install Torch plugins.
Ryan Pennington reacted to a post in a topic:
How to Install Torch plugins.
-
 Craig Linford changed their profile photo
 -
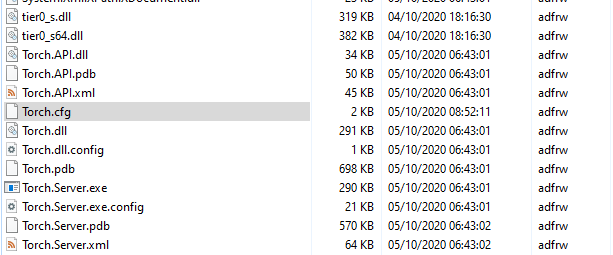
Plugins are software components that add features to your server, much like a mod. Unlike mods, however, plugins do not have an allow list and only run on the server, not on the client. This allows plugins to do many things mods cannot do, but also allows them to compromise your system, which is why all plugins uploaded to the torch website are reviewed before they get added. Make sure the source of any plugin not on the torch website can be trusted before installing them. You can find available plugins here: https://torchapi.net/plugins You are expected to have already installed torch from the game server CP. Part 1: Locate and Download Plugin Find a plugin you would like to install at https://torchapi.net/plugins In this example we will use performance tweaker. Once you've gone to performance tweakers page copy their link as such: https://torchapi.net/plugins/item/f9470106-fad3-468f-ad60-82371c4764d3 Extract the GUID from the plugin link. (The GUID is the set of letters and numbers AFTER the item/) In this case our GUID is: f9470106-fad3-468f-ad60-82371c4764d3 Head to the download page (next to description button on the website) and download the plugin to your computer. Place it somewhere easy to access later like the desktop. Part 2: Install Plugin Ensure your game server is stopped and then connect with FTP client. In the root diretory find and and open "Torch.cfg" Find "<Plugins /> <guid>ENTER GUID HERE</guid> </Plugins>" Replace ENTER GUID HERE with the guid we obtained earlier. Press the save button. Navigate to the "Plugins" folder and upload the plugin we downloaded earlier. Start your game server from the CP. Stop your server after confirming the plugin is operational. Navigate to the Instances folder to find the config file. It will commonly be named after your plugin. In our examples case "PerformanceTweaker.cfg" Adjust the settings of your new plugin to what you like. Upon completion start your server and you are done.
-
I just installed the Dedicated Server from Steam Tools onto my PC and ran it from there instead.
-
I raised a ticket and got the below reply, though to share it: It is possible the config file is not properly updating. One thing to try is the following. Here is a quick run down on how to manually add Mods to your Space Engineers Server! Get the Mod ID from the steam page URL Download and open up the Sandbox_config.sbc which can be found in the "Instance\Saves\YOUR_CURRENT_SAVE_NAME" directory Search for Mods Add a XML item for each mod Once you've finished adding the mods make sure to save the file the reupload it to the server! It is extremely important that you close off the section with SEE BELOW IMAGE For this mod https://steamcommunity.com/sharedfiles/filedetails/?id=571920453 the Mod ID is 571920453 An Example of how it should look when you edit the Sandbox.sbc
-
Indeed the link to RCON on the contol pannel does not work. https://www.medievalengineerswiki.com/index.php?title=Keen:Remote_Client