Thanks for visiting our wiki! Click here to order your own game server at SurvivalServers.com
How to Install Valheim Plus
Revision as of 19:01, 28 February 2021 by Ryan (talk | contribs) (→How to Install Valheim Plus on your Server)
How to Install Valheim Plus on your Server
Installation of Valheim+ is easy with these steps.
- Access your server's control panel and stop the server
- Locate the Mod dropdown box and change it from "No Mod" to "Valheim+"
- Click on the green "Save Settings and Restart Game Server"
- See the below sections on how to install Valheim Plus on your client so you can connect to the server
- Once you are done installing, configure Valheim+ with the available Modify Valheim+ Config tool!


TIPS & Tricks
- To alleviate some lag issues (still will not be perfect) you can set your Server Data Rate from 60 to 120.
- Make sure that all connecting players to your Valheim+ server have the client-side steps completed below!
How to obtain the Valheim Plus Client Files
Please note, every single player connecting to your Valheim server is required to follow the steps below or you will get "Incompatible Version" error.
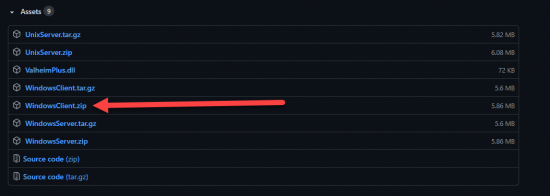
- Then navigate to the latest release of Valheim plus on the github page
- From this page you will want to download the latest zip file for your operating system
- In This example we will be using the latest windows build

How to Install Valheim Plus Client Side
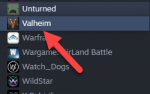
- Open up your Steam Library and select Valheim
- Right Click on Valheim and select Manage
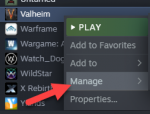
- From within the Manage option select Browse Local Files
- Then open up the zip file you downloaded in the first part of this guide see above extract the contents of the Valheim Client side files into this directory
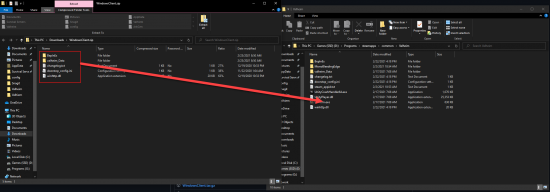
- Congratulations, you have now installed Valheim Plus client side!


Share your opinion