How to Install Valheim Plus
Jump to navigation
Jump to search
How to Install or Update Valheim Plus on your Server
Installation of Valheim+ on your dedicated server or Xbox server is easy with these steps.
- Access your game server control panel
- Locate the Mod dropdown box and change it from "No Mod" to "Valheim+"
- Click on the green "Save Settings and Restart Game Server"
- See the below sections on how to install Valheim Plus on your client so you can connect to the server
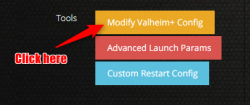
- Once you are done installing, configure Valheim+ with the available Modify Valheim+ Config tool!

TIPS & Tricks
- Click the "i" icon in your control panel for more info on how to update Valheim+!
- Make sure that all connecting players to your Valheim+ server have the client-side steps completed below!
How to Install or Update Valheim+ (Client-side, All Connecting Players)
Please note, every single player connecting to your Valheim server is required to follow the steps below or you will get "Incompatible Version" error.
- Make sure Valheim is not actively running on your computer
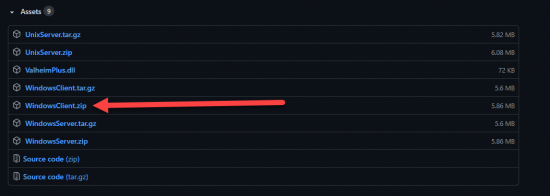
- Download the latest WindowsClient.zip file from the Valheim+ GitHub releases page
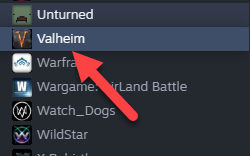
- Open up your Steam Library and find Valheim
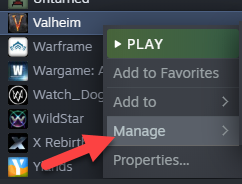
- Right click on Valheim and select Manage
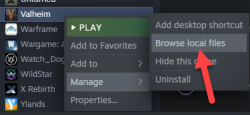
- From within the Manage tab click Browse Local Files
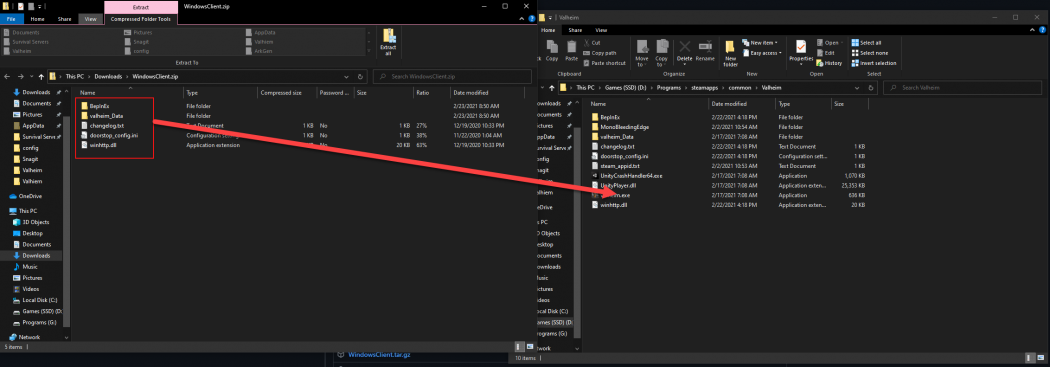
- Open up the WindowsClient.zip archive you downloaded and extract the contents directly into this directory
- Congratulations, you have now installed Valheim Plus client side!
TIPS & Tricks
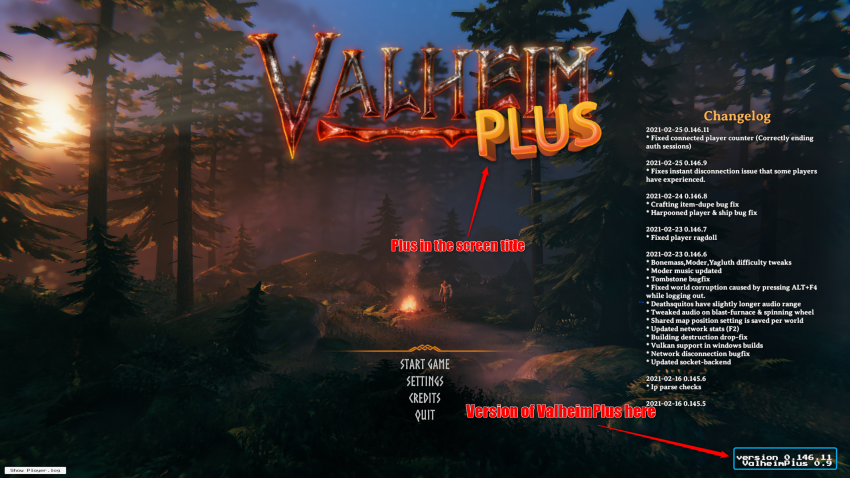
- To verify that you have successfully installed Valheim+ on your computer, open up the main game screen and verify it looks like this

